There are two ways to find out about the stats of a unit:
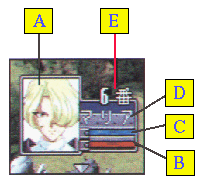
 Mini-stats menu - this menu appears whenever the cursor is placed
over a unit. The meanings of the various elements are:

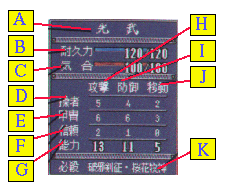
 Detailed Stats Menu - this appears when the "information"
option is chosen from the command menu. Elements of the menu are:
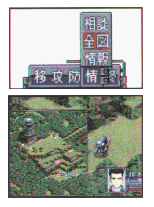
 Map Command - This will open an overall map of the battle, with
the green dots representing friendly units, red dots representing enemy units,
and yellow dots representing land formations and other immobile units.
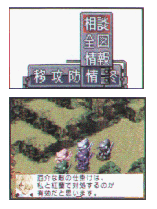
 Conversation Command - Use this to learn about team members present
conditions and also to get hints about how to win the battle.
 Use this when there's nothing to be done. Before ending your turn this
way, make sure you don't have any special-attack points to recharge, and
make sure no enemies are around (otherwise use "defence" instead).
 This option is only available to Oogami's unit. You can use up to
eight protect moves in one battle. When this option is selected,
you need to choose whom you want to protect (can only protect one
team member at one time). Once done, the chosen member will be
shielded by Ooagmi's unit from the next attack by enemies. Out of
gratitude the team member's confidence index will go up by one
(don't you just love hearing Sakura saying "arigatou gozaimasu!"? ^_^)
Neither unit will suffer any damage under normal attacks.
This is a good way to increase
the confidence index (thus also love index) in a chosen member ^_^
go to other game commands
 Back to Ming's Sakura Wars page